Lab 2: Deploy
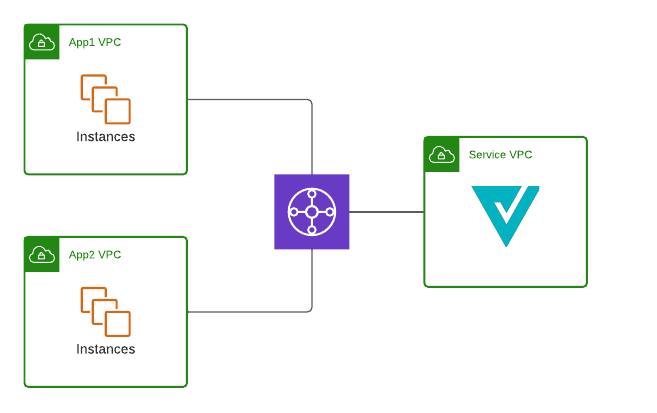
In Lab 1, we enabled the discovery features in Valtix to provide visibility of the inventory of your AWS account and the type of traffic present in the network. With a single click, you can see if any instances are communicating with potentially malicious hosts. In this lab, we will secure the network by deploying a Service VPC with the Valtix Gateway in a hub-and-spoke model. Below is what we will achieve after this lab:
Procedure
- Navigate to Getting Started -> Easy Setup -> Service VPC
-
Provide the information below:
Parameter Description Name Name for the Service VPC CSP Account Select the AWS account onboarded in Lab 1 Region Select the region where you deployed your CloudFormation template CIDR Block Provide any /16 subnet. Example 10.100.0.0/16 Availability Zones Select any one zone Transit Gateway Select “create-new” Transit Gateway Name Provide a name for Transit Gateway. Example valtix-workshop-tgw Auto Accept shared attachments Leave this unchecked -
Click on Save & Continue. This process may take a few minutes. During this time, please do not navigate to a different link.
- After completing the deployment of Service VPC, you should be taken to Create Gateway page where Valtix will orchestrate the deployment of Valtix Gateway in the Service VPC that was created.
-
Provide information to create the Valtix Gateway:
Parameter Description Account Select the AWS account that was onboarded in Lab 1 Service VPC Select the Service VPC that was created in step 3. Valtix Gateways Check “East-West & Egress” only East-West & Egress Gateway Name Provide a name for the East-West & Egress Gateway. Example: aws-workshop-gw East-West & Egress Gateway Policy Ruleset Leave it as default, which is valtix-sample-egress-policy-ruleset Gateway IAM Role Name The value of ValtixFirewallRoleName from the CFT outputs, by default is valtix-firewall-role SSH Key Pair Select the ssh key pair you wish to use -
Click on Save & Continue
- You will be directed to the inventory page. Click on VPCs/VNets
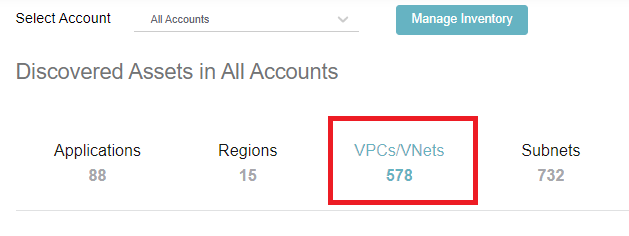
- A list of all the VPCs in your account is shown here. This table will indicate whether the VPC is being secured by Valtix. Find the spoke VPC that was deployed in the prerequisite section.
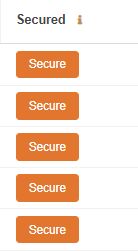
- Click on Secure button and select the Service VPC that was created in step 3.
- Login to AWS console and find the Route Table of the spoke VPC. Change the default route (0.0.0.0/0) to point to Transit Gateway.
Note: After changing the default route, you may lose connection to the EC2 instance. To avoid being disconnected, add a route to your public IP address via the Internet Gateway.
Verification
- Navigate to Manage -> Gateways -> Service VPCs
- Verify the Service VPC exist in the table. Check that the status is ACTIVE
- Navigate to Manage -> Gateways -> Gateways.
- Check the Gateway is shown in the table and that status is ACTIVE.
-
From the EC2 instance, generate traffic to Google and Facebook.
curl http://www.google.com curl http://www.facebook.com -
Navigate to Investigate -> Flow Analytics -> Traffic Summary. This gives an overview of traffic inspected by Valtix Gateway.
- Click on Logs. You should see your sessions to Google and Facebook in the Logs table.